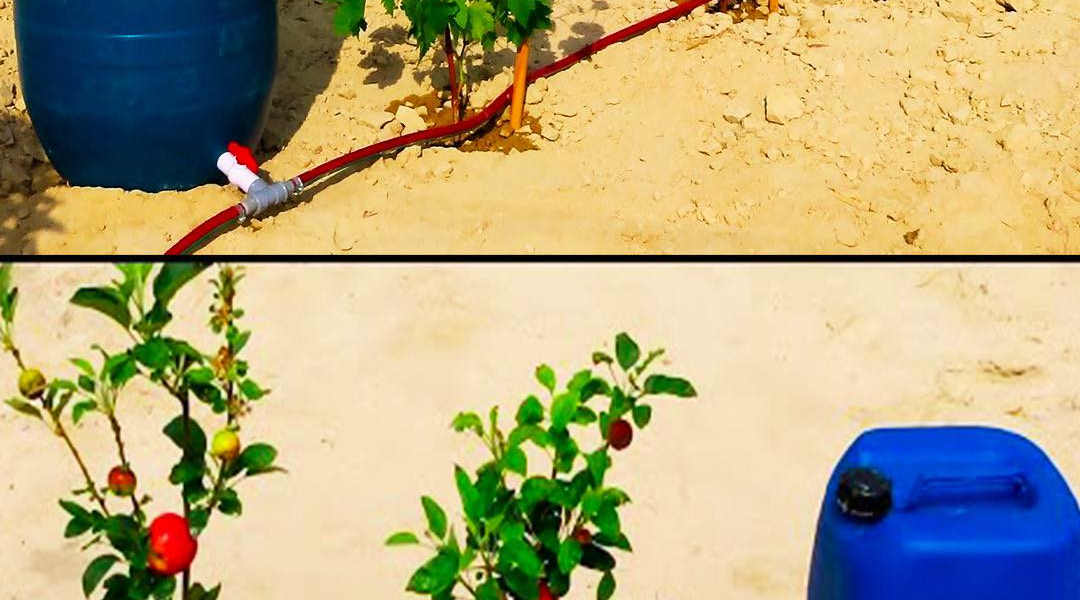
In the world of gardening and plant care, ensuring your green friends receive the right amount of water can sometimes be a challenge, especially for those with busy schedules or for those who enjoy lengthy vacations. The solution? A simple, yet highly effective, DIY drip irrigation system utilizing a barrel and a hose. This system leverages gravity to water your plants consistently, requiring minimal supervision and maintenance. Let’s dive into how you can set up this eco-friendly watering method in your garden.
Materials You Will Need
- A large barrel or water container
- A garden hose
- Iron wire (or similar sturdy wire)
- A screw (or specialized drip irrigation emitters)
- A faucet (to control water flow)
- Tools: drill, scissors, or knife
Step 1: Setting Up the Barrel

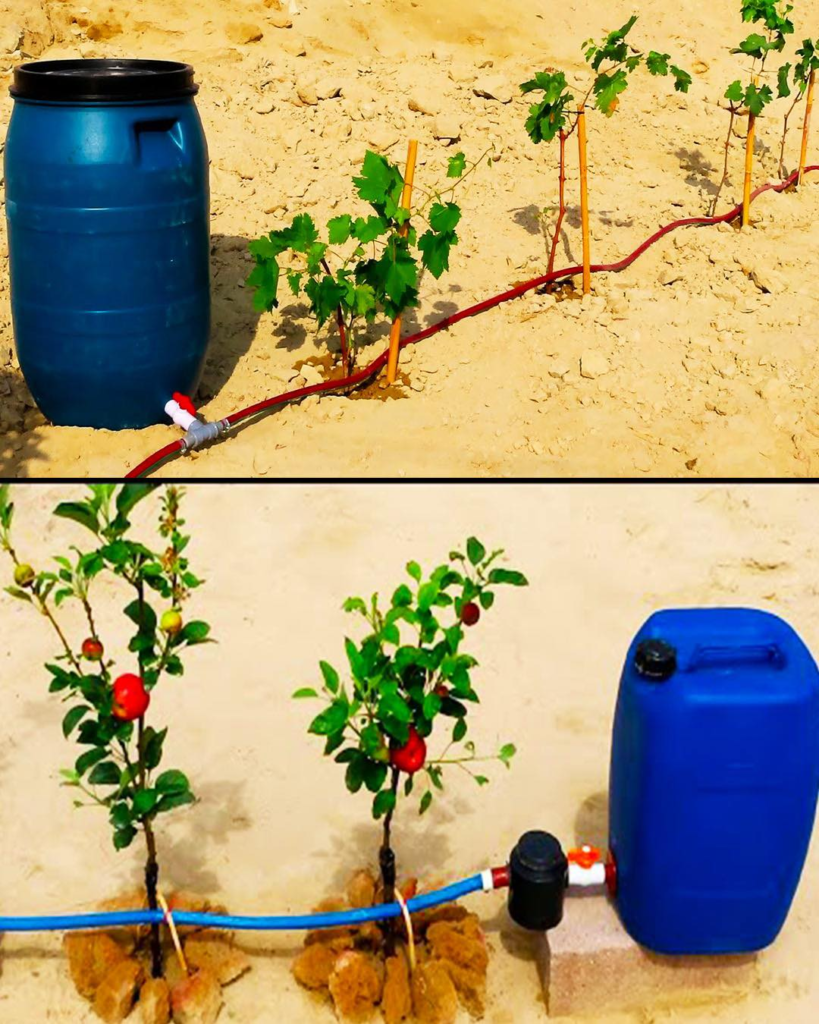
Choose a strategic location for your barrel; it needs to be elevated above the ground level of your plants to utilize gravity effectively. You can place it on a sturdy stand or any secure elevation that offers stability. The height will determine the pressure of the water flow, so adjust accordingly based on your garden’s layout and the length of the hose.
Step 2: Preparing the Hose
Take your garden hose and ensure it’s long enough to reach all the plants you intend to water. Seal one end of the hose by folding it and tightly wrapping it with iron wire. This closure will ensure the water is directed through the holes you will create, rather than simply running out the end of the hose.
Step 3: Attaching the Hose to the Barrel
Drill a hole near the bottom of the barrel to fit your hose. Insert the unsealed end of the hose into the barrel and secure it to prevent leaks. If necessary, use a waterproof sealant around the entry point for a watertight fit. Attach a faucet between the barrel and the hose to control the flow of water more efficiently. This setup allows you to refill the barrel easily without needing to detach the hose.
Step 4: Creating the Drip Emitters
With the hose laid out along your garden beds or plant rows, begin creating small holes at points corresponding to the base of each plant. Start with a small puncture for each location; you can enlarge it slightly if more water flow is needed. Be cautious not to make the holes too large, as this could lead to overwatering and potentially harm your plants.
Step 5: Regulating Water Flow
Attach a screw or specialized drip emitter into each hole to control the water drip. The goal is to adjust the drip rate to meet the specific hydration needs of each plant. Experiment with the screw’s tightness to regulate the flow rate, ensuring a steady drip that provides adequate moisture without overwatering.
Step 6: Filling the Barrel and Starting the System
Fill your barrel with water, and open the faucet slightly to start the water flow. Adjust the faucet to control the overall flow rate through the hose. Your DIY drip irrigation system is now operational! The beauty of this system lies in its simplicity and efficiency. Depending on the size of your barrel and the number of plants, refilling the barrel could range from weekly to monthly, offering peace of mind to those away from home for extended periods.

Benefits and Tips
This gravity-fed drip irrigation system is not only cost-effective but also environmentally friendly, reducing water waste and ensuring your plants receive just the right amount of hydration. It’s particularly beneficial for gardens located in regions with water-use restrictions or for gardeners seeking to reduce their ecological footprint.
Remember, the key to a successful drip irrigation system is balance. Regularly check the moisture level of your soil and adjust the drip rate as necessary. Over time, you may need to modify the system to accommodate new plants or changes in your garden’s layout.
By following these detailed steps, you can create a reliable and efficient drip irrigation system that ensures your plants thrive, even in your absence. This DIY project not only saves time but also promotes sustainable gardening practices, making it a win-win for busy gardeners and the environment alike.